

Turn an empty folder into your first running QUIQQER system. Connect Codex to the official QUIQQER instructions, describe your local setup and follow the installation through to your first backend login.
You will finish with your own local installation at http://localhost:18880, ready for the next tutorial. This walkthrough uses Codex CLI, Docker and SQLite.
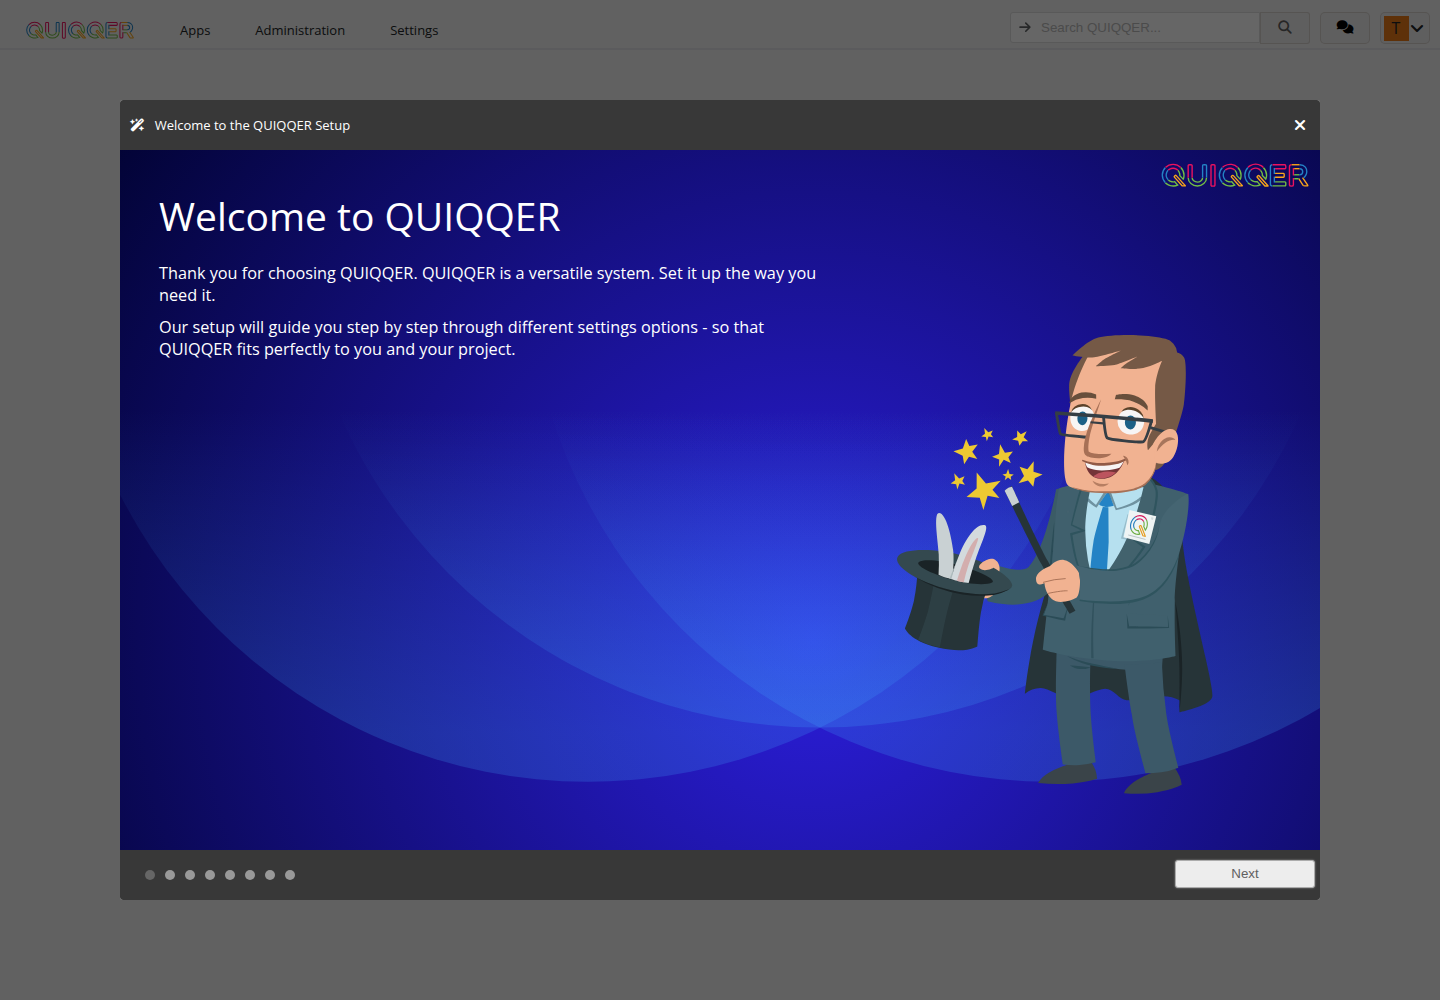
Your first milestone: sign in to your own QUIQQER installation and reach the setup assistant.
Before you start
You need:
- Codex CLI installed and signed in. If you have not used it before, follow the official Codex CLI setup.
- Docker Engine or Docker Desktop running, with Docker Compose available.
- An empty project folder and an internet connection for downloading the image and packages.
- Port 18880 available on your computer. If you choose another port, use that address consistently throughout the prompt and browser checks.
We tested this walkthrough on Linux. The terminal commands below use a Bash-compatible shell. Download and installation time depends on your connection and computer; leave time for the first Docker image download.
1. Give your project a home
Open a terminal and create a new folder:
mkdir my-quiqqer-site
cd my-quiqqer-site
Start with an empty directory so your new installation stays separate from your existing work.
Check that the two tools are ready:
codex --version
docker compose version
Docker must also be running. If Codex cannot reach the Docker daemon during setup, start Docker before continuing.
2. Connect Codex to QUIQQER
Add the public QUIQQER MCP server:
codex mcp add quiqqer --url https://www.quiqqer.com/mcp
This connection gives Codex access to official QUIQQER skills and installation instructions. You do not need a quiqqer.com account to read them.
Use the address with www. In our test, the address without it redirected to another origin, which Codex refused.
If Codex opens an OAuth login: the tested CLI version offered this automatically. For these public installation instructions, cancel the optional login with Ctrl+C. The MCP configuration remains saved.
Check the saved connection:
codex mcp get quiqqer
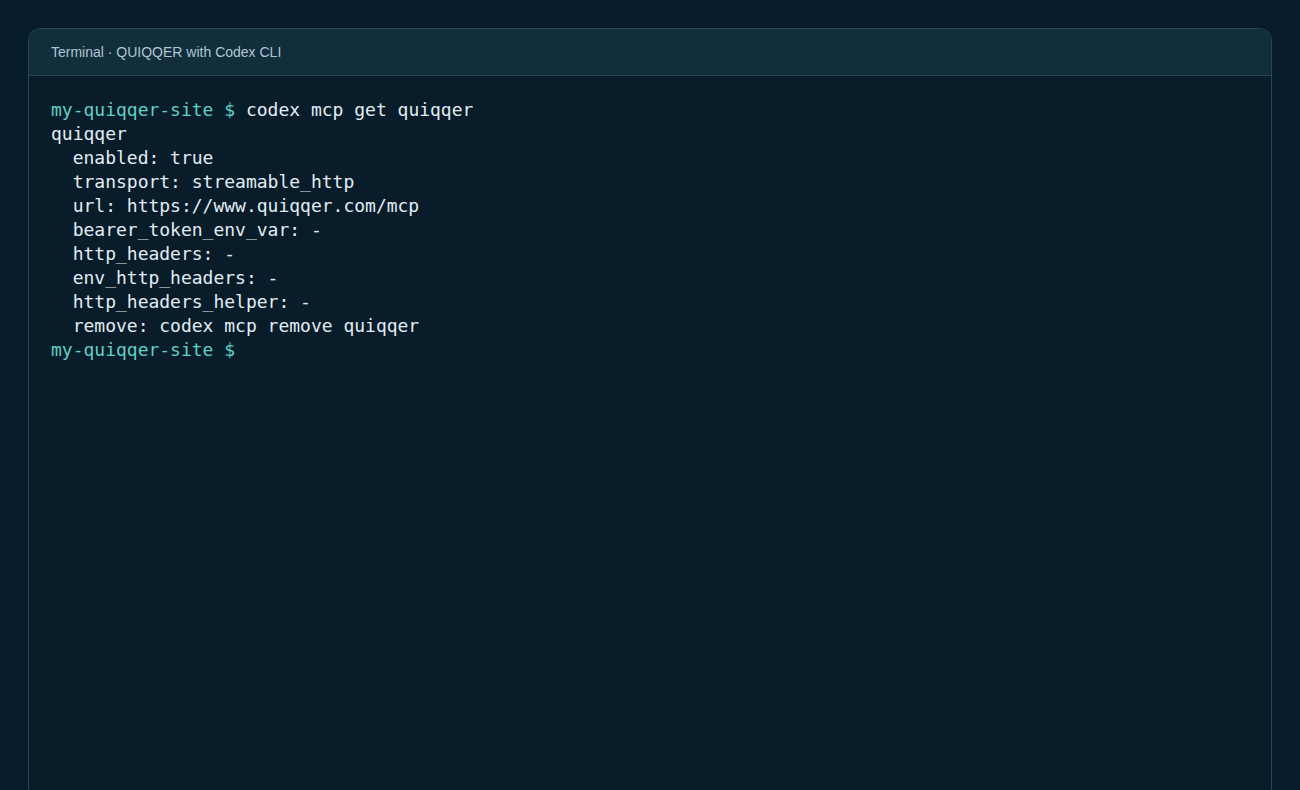
The server should be enabled and point to https://www.quiqqer.com/mcp.
3. Tell Codex what you want to run
Start Codex from your project folder:
codex
If Codex asks whether you trust the directory, check that it is the new folder you just created. Inside Codex, /mcp shows the servers available to the session.
Paste this prompt into Codex:
Connect to the public QUIQQER MCP server and load quiqqer_start.

Install a new local QUIQQER system in the current empty directory.
Use Fast/Simple mode; choose the remaining technical defaults for me.

Target hostname: localhost
Website URL: http://localhost:18880

Use Docker, SQLite and the current stable QUIQQER 2.* release.
Use English as the project and default language, without demo data.
Use a separate Docker Compose project named quiqqer-codex-tutorial.
Bind port 18880 to 127.0.0.1 only and persist application/database data.
Keep existing projects, containers and databases unchanged.

Read the official installation skills and check the current installer
options. Generate strong credentials and keep them in a protected
local file outside the web root. Do not print passwords or API keys.

Complete the installation and the MCP handoff required by the skills.
Verify the website and backend login. Tell me the URLs, where my
credentials are stored, and how to stop and restart this local system.
The specific hostname, URL and local-only scope give the agent enough information to choose a suitable setup. This example creates a learning environment on your computer. A public deployment needs its own domain, HTTPS and deployment decisions.
4. Follow the setup
Codex reads the official skills, checks your environment and prepares the installation. Review its proposed directory, Docker project and local address before allowing commands to run.
Some actions may need your approval, such as reading an MCP skill, downloading the installer or accessing Docker. The exact prompts depend on your Codex permissions. Approve the actions that match this installation and read any unexpected request before continuing.
In our test, Codex created:
- A Compose configuration for the official QUIQQER image with PHP 8.4 and Apache.
- A persistent
app/directory containing the application and SQLite database. - An English project named
tutorial. - A protected credentials file outside
app/. - A temporary installation configuration that was removed from the running service after setup.
The agent used the official installer to download and configure QUIQQER, including its MCP package. Wait for its verification summary before opening the result. A container starting is only one step; the application setup must finish too.
A version detail from this test
The image we tested bundled an older installer whose help did not include --db-path or list SQLite as a supported driver. Codex kept the production image and used the current official installer, mounted read-only for installation.
If you encounter the same mismatch, ask Codex to check the current installer from https://update.quiqqer.com/quiqqer-installer.phar and follow the official installation skill. There is no need to guess unsupported flags or switch databases silently. A newer image may already include the updated installer.
5. Open your new installation
Open http://localhost:18880 in your browser.
Because we deliberately skipped demo data, the frontend starts with a minimal page. That is expected: your installation is ready for your own content, and the next tutorials will build on it.
Then open http://localhost:18880/admin/.
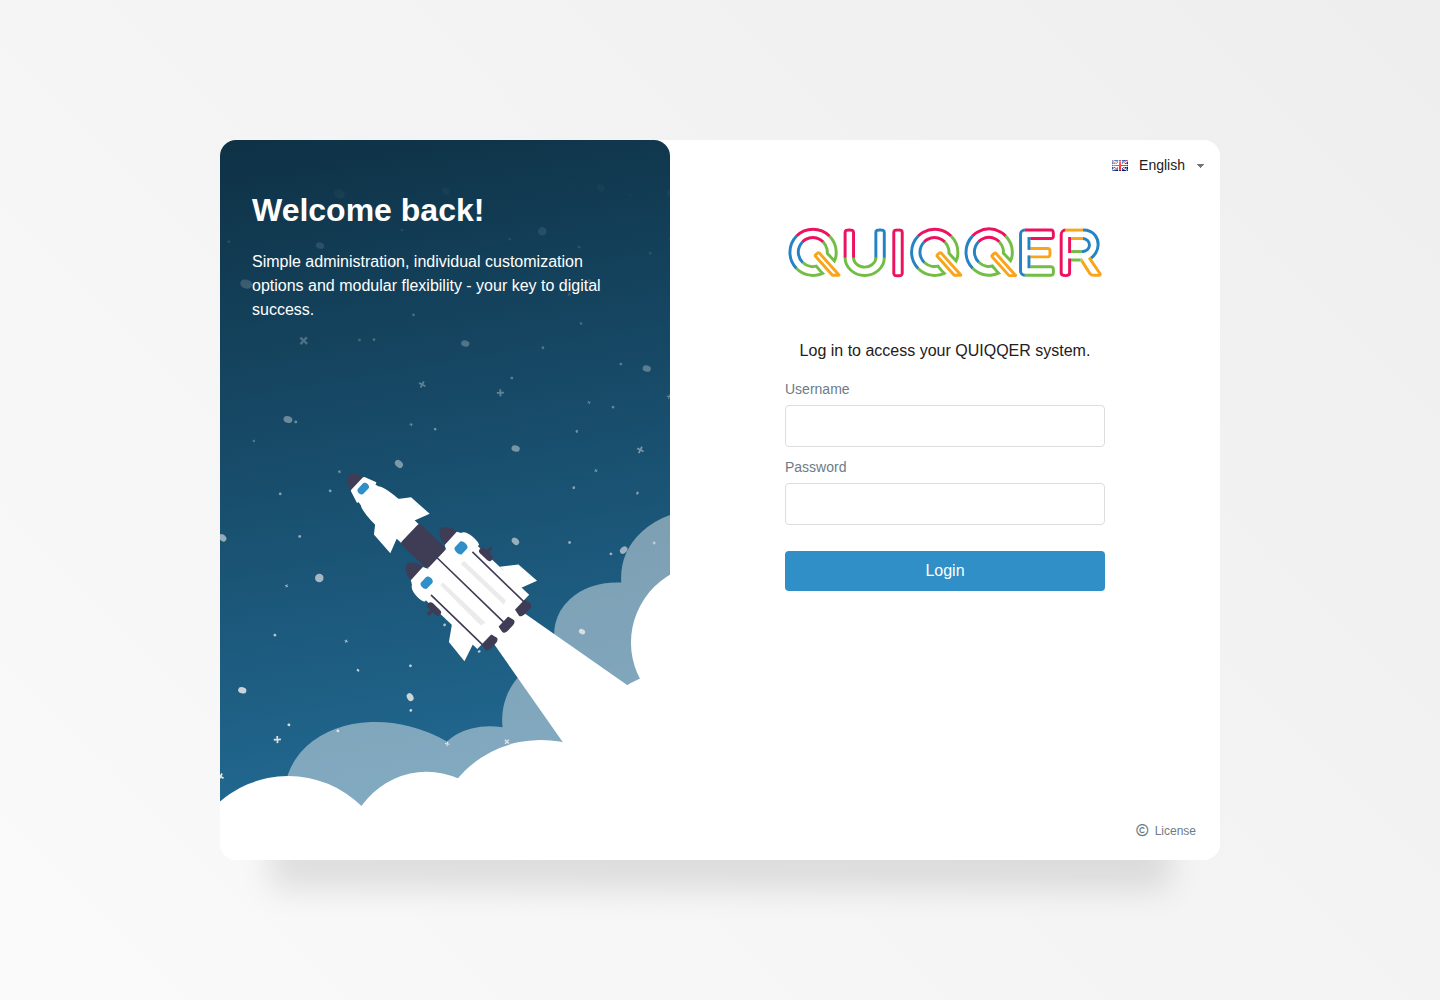
This is the login for your local installation. It is separate from any account on quiqqer.com.
Use the administrator credentials stored locally by Codex. In our test, the administrator was named tutorial-admin; the generated password was stored in .secrets/credentials.json. Your agent should tell you the location it actually used. Keep that file private and do not add it to version control or the tutorial screenshots.
After signing in, you should reach the QUIQQER backend. Our first login opened the Welcome to QUIQQER setup assistant shown at the beginning of this guide.
You now have a running system and access to its administration. The first backend tour will continue from here.
6. Keep your work between sessions
Run these commands from the project directory containing the generated compose.yaml.
Stop the local service:
docker compose stop
Start it again:
docker compose up -d
The persistent application directory holds your installation and database. Keep it when you stop or restart the container.
If something gets stuck
Codex reports an MCP redirect error. Register the direct https://www.quiqqer.com/mcp address and restart Codex. Confirm that it can actually load quiqqer_start; a saved configuration alone is not a connection test.
The connection offers a quiqqer.com login. The public skills worked without that login in our test. Cancel the optional OAuth flow and continue with the saved public connection.
Docker is unavailable or the port is already in use. Let Codex inspect the error. Start Docker if needed, or choose another free local port and update the installation address consistently. Do not stop an unrelated service to free the port.
The website is still unavailable after the container starts. Ask Codex to inspect the installation logs with secrets removed. Package downloads and QUIQQER setup can still be running.
The frontend looks empty. This walkthrough installs without demo content. Check the backend login; creating and publishing your first page is the next milestone.
What will you build first?
Your installation is the starting point. Next, find your way around the QUIQQER admin, then create and publish your first page.