

Your QUIQQER system is already running. Now give Codex access to the right project, let it inspect the current page and make one change you can see in the browser.
In this tutorial, you will connect Codex CLI to an existing QUIQQER installation through MCP and update a paragraph on a practice page. You will first verify what Codex can access, then give it a specific editing task.
This continues from Install QUIQQER with Codex CLI and Docker. You can also use another existing installation that meets the prerequisites below. The MCP connection does not require Docker; our screenshots use the local Docker system from the first tutorial.
Before you start
You need:
- An existing, reachable QUIQQER system with the
quiqqer/ai-mcppackage installed. Check the installed packages in its backend package management. If the package is missing, install it on that system before configuring Codex. A connection to the public quiqqer.com MCP server does not install or enable MCP on your own website. - OAuth enabled on that system through
quiqqer/oauth-server, and its canonical HTTPS address followed by/mcp. Your administrator should check this setup if browser sign-in is not available. - Codex CLI installed and signed in.
- Your QUIQQER login, with permission to sign in, use MCP, read the project and edit the practice page. Codex will use the account you choose in the browser. It does not gain additional rights through OAuth.
- An existing practice page you are allowed to change, with its project name, language and page ID. Use a test or staging page for this first task.
The plain HTTP address from the installation tutorial is not sufficient for this OAuth workflow; use your existing system’s working HTTPS address.
1. Identify the system you want Codex to use
There are two different connections:
| Connection | Purpose |
|---|---|
https://www.quiqqer.com/mcp |
Public QUIQQER skills and instructions |
Your own system's /mcp endpoint |
That system's projects, pages and authenticated operations |
In our HTTPS test setup, the website is https://localhost:18885 and its MCP endpoint is https://localhost:18885/mcp. The public skills server cannot edit this local project.
Use your system's actual address. A local localhost URL only works when the client can reach that machine. For a remote system, use its canonical HTTPS endpoint. Sign in to your own system when authorizing Codex.
Our prepared example is:
- Project:
tutorial - Language:
en - Page ID:
6 - Page name:
Codex Practice - URL:
https://localhost:18885/Codex-Practice
Its initial paragraph reads: “This page is ready for a small update.” The technical user can edit this practice page but does not have permission to edit the homepage. Use the actual project, language and page ID from your own installation rather than assuming these example values exist there.
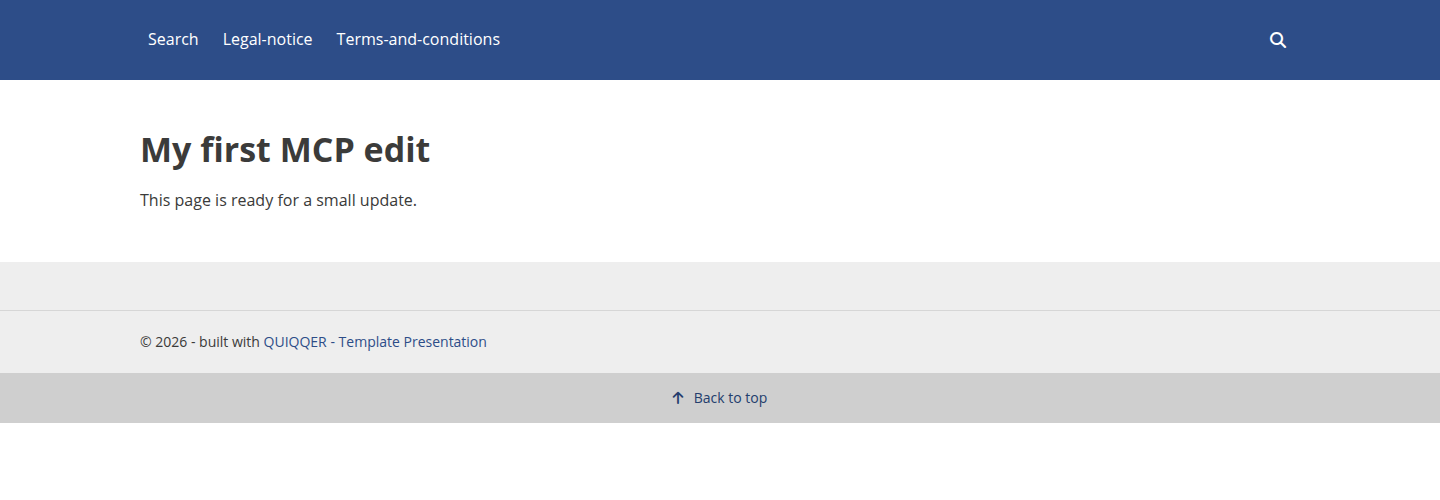
Start with a small page whose current content and intended change are easy to verify.
2. Connect Codex and sign in through your browser
Open a terminal in the folder you use for this work. Add your system’s MCP address:
codex mcp add quiqqer-project --url https://your-quiqqer.example/mcp
Replace https://your-quiqqer.example/mcp with your real HTTPS address. Our screenshots use https://localhost:18885/mcp, the HTTPS endpoint prepared for the local test system. If quiqqer-project already names another connection, choose a different name and use it consistently below.
Codex can detect OAuth and start the login flow immediately. If it asks you to log in separately, run:
codex mcp login quiqqer-project
Open the authorization link from the terminal if your browser does not open automatically. Sign in with your account on that QUIQQER system. If you are already signed in, you may go straight to the authorization screen.
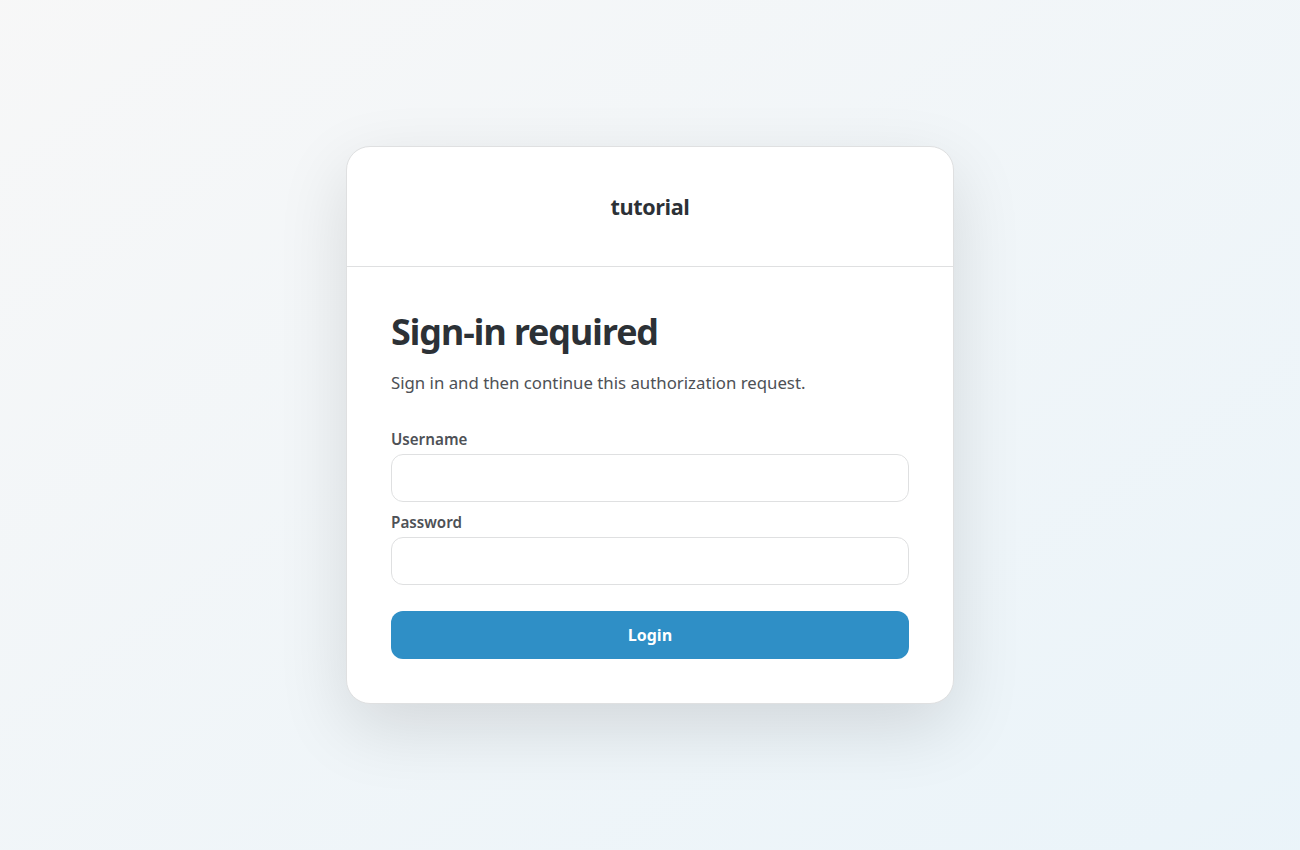
Use the same QUIQQER account you normally use for this project.
On Authorize MCP access, check that the application is Codex and that the displayed account is yours. Review the available functions, then choose Allow access.
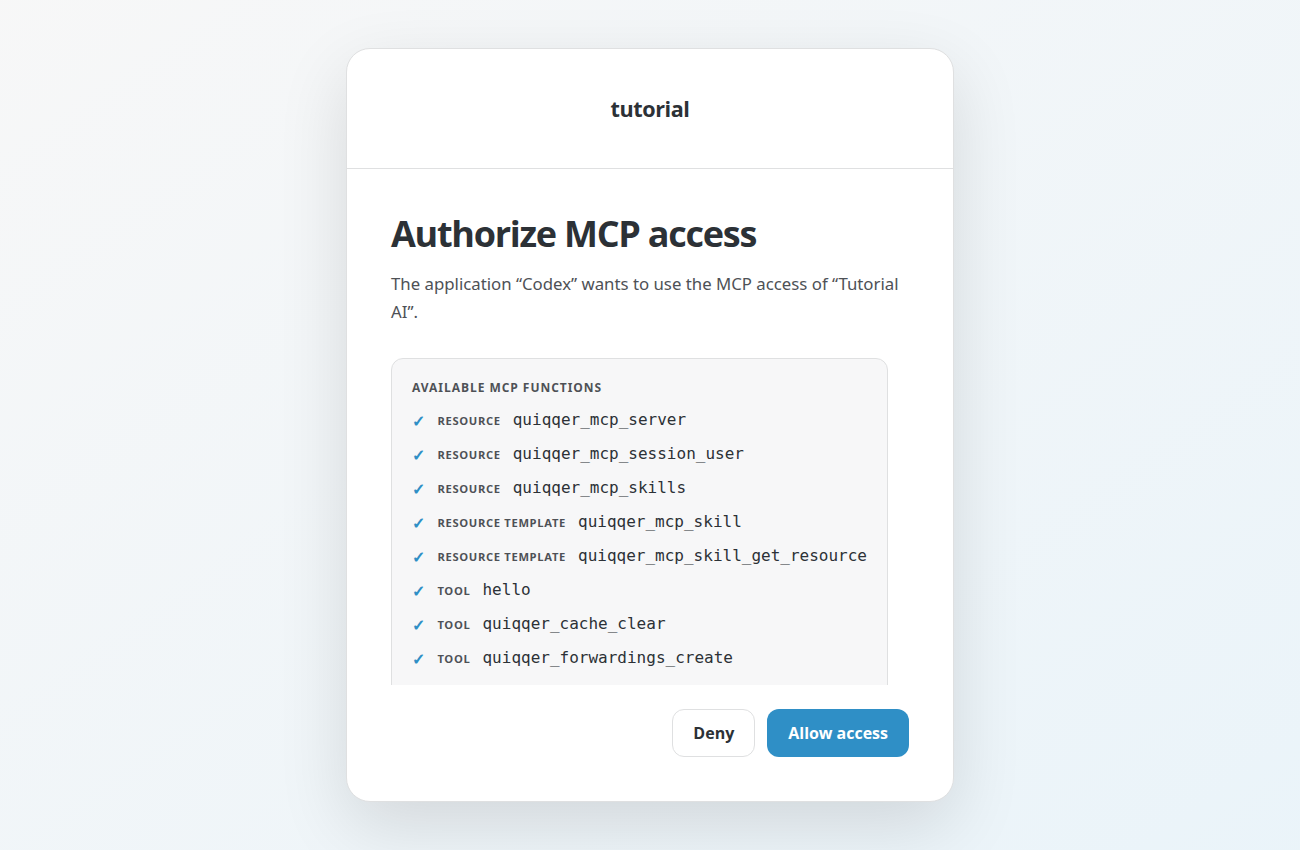
The connection uses your account’s existing permissions. Authorizing Codex does not make it an administrator.
Return to the terminal and wait for Codex to confirm that the login succeeded. Codex handles the credentials for you; there is nothing to copy into an environment variable.
Keep the public quiqqer connection from the first tutorial for official skills. If you have not configured it yet, follow that tutorial’s connection step. Your project connection is the separate quiqqer-project server.
3. Let Codex inspect before it edits
Start a new Codex session from the same terminal:
codex
If Codex asks whether you trust the folder, check that it is the intended workspace. Inside the session, /mcp shows the configured MCP servers.
Give it a read-only first task. Replace the example page details with yours:
Use the public quiqqer MCP connection to load quiqqer_start.

My QUIQQER system already exists. Do not reinstall it.
Use quiqqer-project at https://localhost:18885/mcp for its data.

Before making changes:
- Verify the connected user and the QUIQQER version.
- Confirm that quiqqer/ai-mcp is installed.
- Inspect project tutorial in English.
- Read page 6, Codex Practice, including its title, short and content.

Summarize the target and the existing paragraph. Make no changes yet.
Do not print tokens or read credential files.
Review the returned identity, project, language, page ID and current content. A server entry in the configuration only proves that the connection was saved. A successful authenticated read proves Codex is reaching the intended system with the provided account.
4. Make one precise change
Now tell Codex exactly what to change:
On project tutorial, language en, page 6 (Codex Practice), replace only
this paragraph in the content:

This page is ready for a small update.

with:

I connected Codex CLI to my existing QUIQQER project and updated this
page through MCP.

Keep the heading, page title, short description, URL, layout,
activation, navigation and permissions as they are.
Use the target system's MCP tools and read the page again afterward
to verify that only the requested content changed.
Read any tool approval before confirming it. It should address the chosen project and page and update the requested content. The exact approval prompts depend on your Codex settings.
If the account lacks editing rights, let the administrator grant the required permission for the intended page. Then retry the same focused task with the intended account.
5. Check the result in your browser
Open the practice page again. In our example:
https://localhost:18885/Codex-Practice
The paragraph should contain the new sentence. The heading, URL and surrounding page should still be the same.
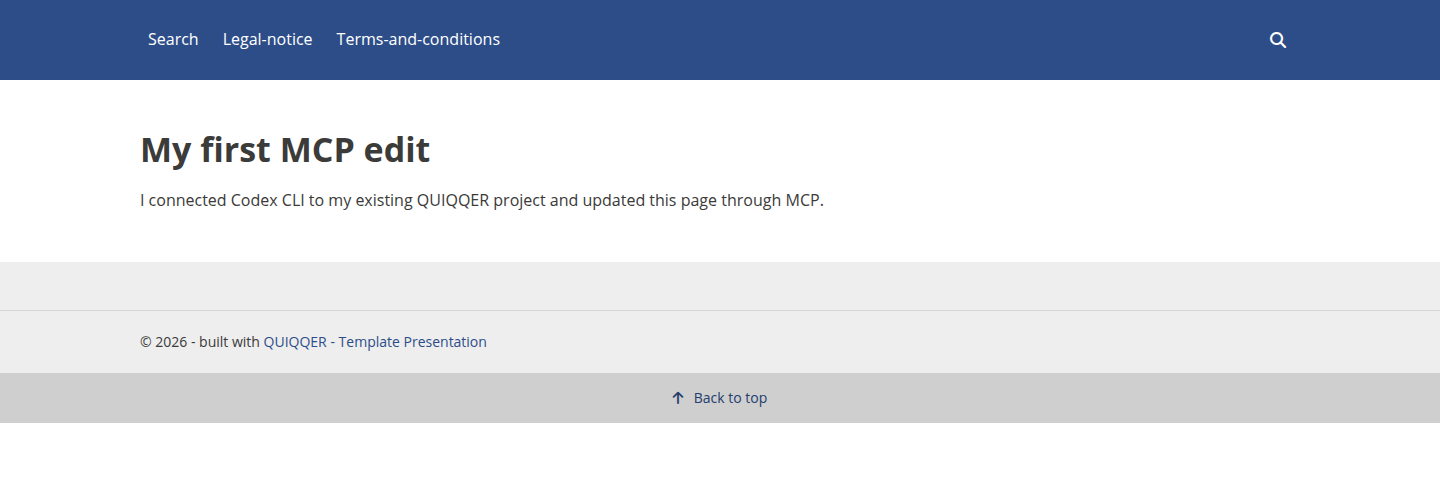
The first visible result: your existing page now contains the text you asked Codex to change.
Check both the saved page data and the actual frontend. If the old paragraph remains visible, inspect whether the generated website cache needs refreshing rather than repeatedly editing the same content. A freshly loaded page should show the verified saved result.
Continue later
The server connection and OAuth login are saved by Codex. Next time, start codex and use the same quiqqer-project connection. If Codex asks you to sign in again, repeat:
codex mcp login quiqqer-project
To log this connection out of Codex:
codex mcp logout quiqqer-project
If something gets stuck
The target does not expose MCP. Check that quiqqer/ai-mcp is installed on that target, then verify its canonical endpoint and server routing. The public skills connection alone is insufficient.
The browser login does not start or fails. Check that the address uses HTTPS and that quiqqer/ai-mcp and quiqqer/oauth-server are installed and configured for OAuth. Ask your administrator to check client registration if Codex cannot register. Run codex mcp login quiqqer-project again to get a fresh authorization link. If QUIQQER rejects the sign-in, verify that your account is allowed to log in.
Codex can read the page but cannot save it. Authentication and editing permissions are separate. Confirm the connected user and the intended page's permissions with the administrator.
The wrong project or language appears. Stop before making a change. Recheck the MCP server name and URL, then specify the correct project, language and page ID.
The browser still shows the old text. Compare the saved content with a fresh anonymous frontend request and check the relevant cache. Do not assume a successful tool call has already changed the rendered page.
What will you change next?
You now have a repeatable starting point: identify the target, let Codex read its current state, request one focused change and verify the result. Use that pattern for the next small improvement to your own project.